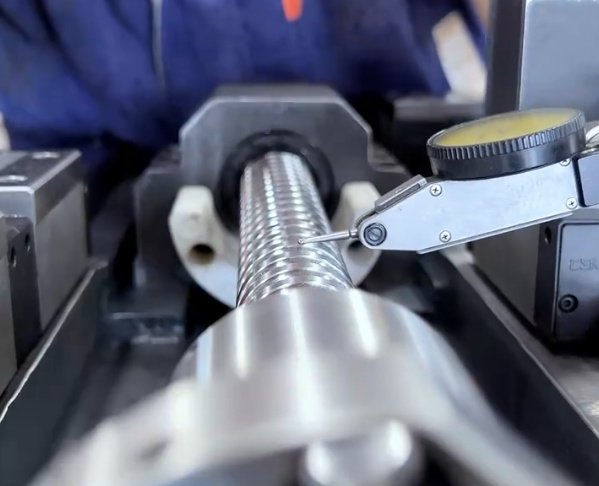
Dimensional accuracy is one of the core performance indicators in CNC machining. When machined dimensions are consistently off, even by a few hundredths of a millimeter, it can lead to assembly failures, functional problems, and high scrap or rework rates. This article analyzes the main technical causes of dimensional deviation in CNC machining and provides practical guidance on how to identify, quantify, and control them.
Fundamentals of Dimensional Accuracy in CNC Machining
Before looking at specific reasons, it is necessary to clarify how dimensional accuracy is defined and controlled in a CNC environment.
Dimensional accuracy vs. tolerance
Dimensional accuracy describes how closely the actual CNC machined size matches the nominal size specified on the drawing. Tolerance defines the allowable deviation range around that nominal size.
For a simple linear dimension:
- Nominal size: 50.00 mm
- Tolerance: ±0.02 mm
- Acceptable range: 49.98 mm to 50.02 mm
If the actual result is 50.05 mm, the dimension is out of tolerance even if the deviation seems small.
Systematic error vs. random error
In CNC machining, dimensional errors can be roughly divided into:
- Systematic errors: stable and repeatable bias, for example, all parts are 0.03 mm oversize. These are typically caused by wrong offsets, tool wear not updated, or incorrect compensation.
- Random errors: vary in magnitude and direction, for example one part 0.01 mm undersize, the next 0.02 mm oversize. These often stem from inconsistent clamping, vibration, thermal fluctuations, and unstable cutting conditions.
Understanding which type you are facing is key to troubleshooting: systematic errors are generally easier to correct through programming and offset adjustment, while random errors require process stabilization.
Relationship between tolerance and process capability
Even when the CNC machine and CNC process are well controlled, there will be natural scatter in dimensions. Process capability describes how this scatter compares with the tolerance band. One common indicator is Cp/Cpk. A process with Cpk ≥ 1.33 is usually considered capable in many industrial environments. If dimensional spread is inherently larger than the tolerance, the problem is not only “why dimensions are off” but also that the tolerance does not match the process capability.
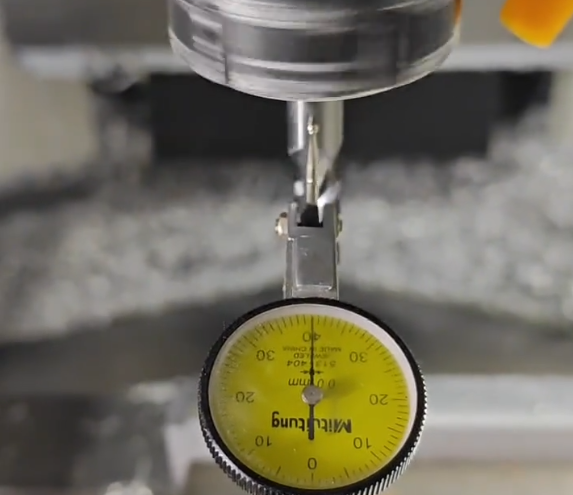
Tooling-Related Causes of Dimensional Deviation
Cutting tools are directly responsible for material removal, so their geometry, clamping, and condition have an immediate impact on final dimensions.
Tool wear and tool life management
Tool wear gradually changes the effective tool diameter or edge position. For finishing passes, even wear of 0.01–0.02 mm on a diameter will directly translate to dimensional deviation. Common wear forms include flank wear, crater wear, and edge chipping.
Typical influences:
- End mill finishing a pocket: radial wear of +0.01 mm can make a 20.00 mm pocket grow to 20.02–20.03 mm.
- Boring bar finishing a hole: tool nose wear increases hole diameter and deteriorates roundness and straightness.
Without controlled tool life management, operators often adjust offsets reactively based on measurement, which can cause parts to swing between undersize and oversize.
Tool deflection and stiffness
Cutting forces bend the tool. The longer and thinner the tool, the larger the deflection. Tool deflection leads to undersize or oversize conditions depending on tool path and cutting direction.
Deflection depends on tool overhang length, diameter, material, and cutting parameters. A long 6 mm end mill, extended 30–40 mm out of the holder, can easily deflect several hundredths of a millimeter under moderate side cutting, resulting in dimensional taper or curved walls.
Incorrect tool length and diameter offsets
In CNC machines, tool geometry is represented in the system by length and radius (or diameter) offsets. Errors can arise from:
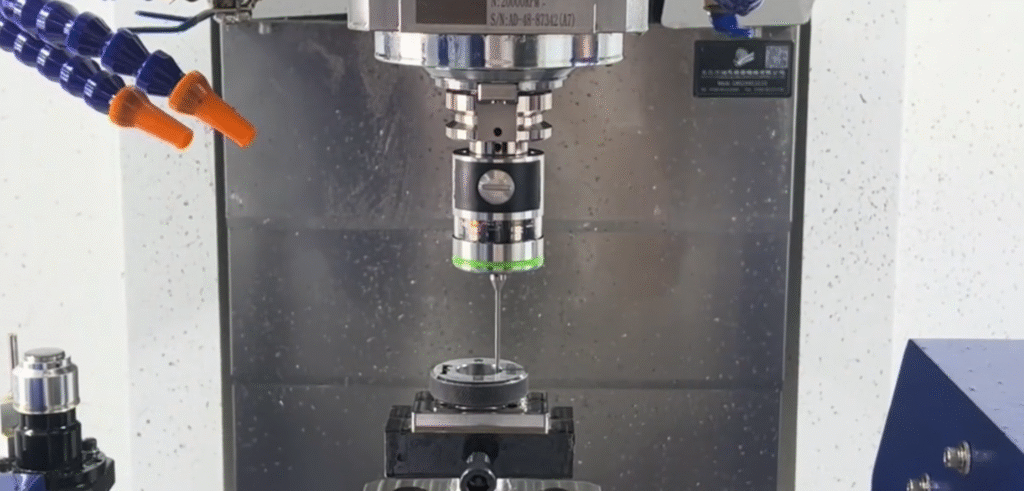
- Incorrect measurement in tool presetter or on-machine probing
- Manual transcription mistakes of tool offset values
- Using the wrong offset number in the NC program (e.g., calling H03 when the tool is in H04)
For contouring, if the programmed path uses cutter radius compensation (G41/G42) and the tool radius stored in the offset is not accurate, systematic dimensional errors will appear on all parts.
Tool runout and clamping errors
Tool runout occurs when the tool axis is not perfectly aligned with the spindle axis. Runout increases effective cutting diameter and may cause uneven wear. Even 0.01–0.02 mm of radial runout at the tool tip can lead to measurable dimensional deviation in holes and contours.
Typical causes:
- Dirty or damaged tool holder taper
- Contamination on tool shank or collet surfaces
- Low-quality or worn collets and chucks
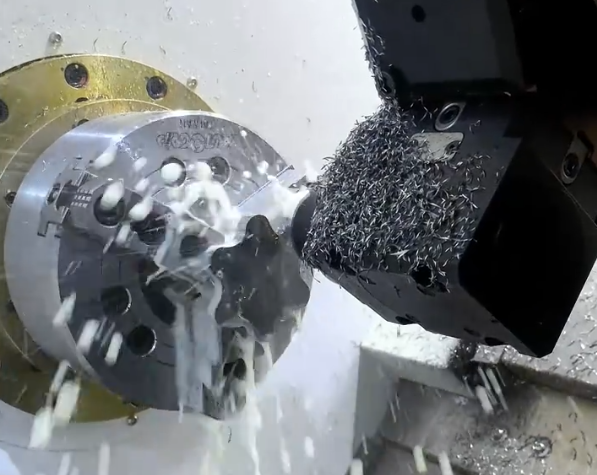
Fixture, Clamping, and Workpiece Deformation
Fixturing controls the workpiece position and rigidity. Improper clamping or deformation during machining is a frequent source of dimensional inaccuracy, especially for thin-walled or long parts.
Insufficient or inconsistent clamping force
If clamping force is too low, the workpiece can move or vibrate, producing irregular dimensions. If clamping force is too high, it may elastically deform the part during CNC machining. After unclamping, the part springs back, and the measured dimension differs from what was machined.
For example, a thin plate clamped by a vise may be bent slightly. Features machined on the bent surface will shift when the part is released. The measured thickness or flatness may be outside tolerance even though tool paths and offsets are correct.
Over-constrained or under-constrained fixturing
Fixturing should follow a clear locating principle: typically 3-2-1 point location or equivalent schemes. If the workpiece is over-constrained, small geometric imperfections force it into a distorted shape, and dimensions shift. If under-constrained, the part may vibrate or creep under cutting forces.
Common mistakes include:
- Stacking shims or parallels in an uncontrolled way, introducing inclinations
- Using too many locating pins without clear datum definition
- Relying on soft surfaces as datums, which wear or deform over multiple clampings
Thin-walled and long-part deformation
Thin walls, ribs, and long shafts have low stiffness and are very sensitive to cutting forces and clamping forces. Typical effects:
- Bore distortion (oval or triangular) in thin housings
- Thickness variation on thin plates due to bending in the vise
- Shaft diameter taper due to insufficient support or tailstock pressure
Even if the machine and tool are accurate, the elastic deformation of the part leads to a mismatch between the machined shape under load and the measured shape after load removal.
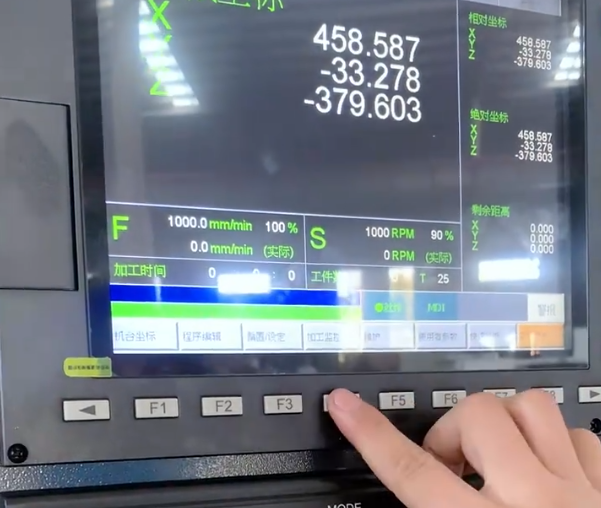
Programming, Compensation, and Coordinate System Errors
Even on a highly accurate machine, incorrect programming or coordinate setup will produce systematic dimensional errors. These errors are usually very repeatable from part to part.
Incorrect work coordinate setting
Work coordinate systems (G54, G55, etc.) define the relationship between the workpiece datum and the CNC machine. Errors in setting the origin directly translate into dimensional deviation between features.
Common causes:
- Probing the wrong feature or datum reference
- Misreading drawing datums and zero points
- Data entry errors when typing coordinate values into the controller
Cutter radius compensation misapplication
When using cutter compensation (G41/G42), the controller offsets the tool path based on the stored tool radius. Errors occur when:
- The NC program already includes tool radius compensation, and the controller applies additional compensation (double compensation)
- The offset value does not match the actual radius (for example, wrong tool, regrind not updated)
- The compensation direction (left/right of path) is reversed because of tool path direction confusion
These issues cause consistent oversize or undersize on profiles and pockets.
Roughing and finishing allowance mismanagement
Roughing operations leave a stock allowance for finishing. If the allowance is not uniform or too small, the finishing pass will remove uneven material, resulting in varying cutting forces and potential dimensional deviations.
If the roughing program leaves only 0.05 mm radial stock in some regions and 0.2 mm in others, the finishing tool may deflect differently along the path, causing local taper or out-of-round features.
Post-processor and machine parameter discrepancies
CAM-generated programs depend on accurate post-processors reflecting the machine’s kinematics, coordinate conventions, and compensation modes. Incorrect post-processor settings or control parameters (e.g., wrong cycles, inappropriate tool length compensation mode) can produce small but consistent deviations, particularly in multi-axis machining where rotary pivot points are critical.
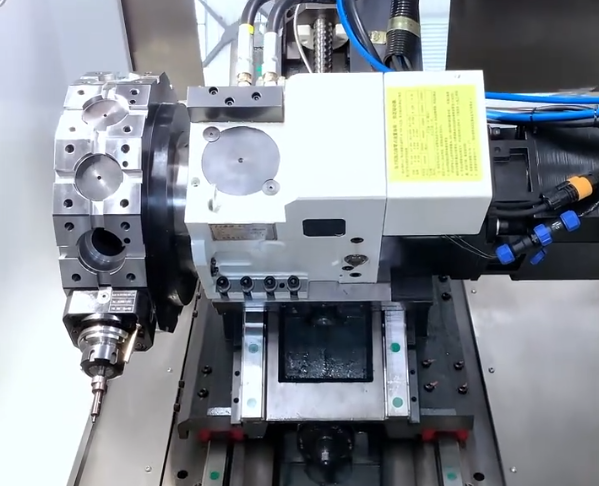
Machine Tool Geometric and Kinematic Errors
Even in a perfectly programmed process, the machine tool itself may introduce errors due to its geometry, wear, and motion characteristics.
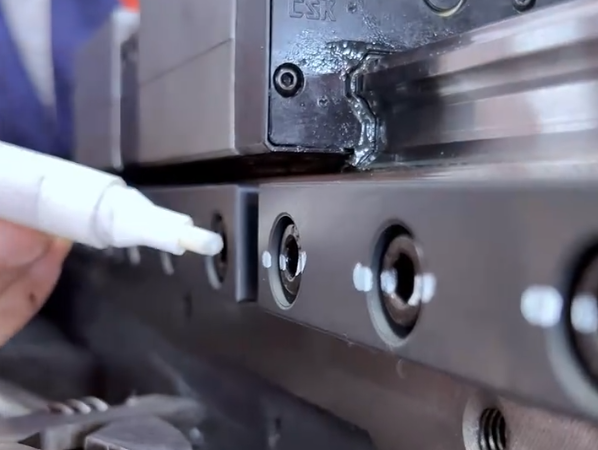
Linear axis positioning error and backlash
Each axis has a specified positioning accuracy and repeatability. Positioning error refers to the difference between commanded and actual position. Backlash is the lost motion when the direction of movement reverses.
For example, if a CNC machine has a positioning accuracy of ±0.01 mm and backlash of 0.005 mm on an axis, precise features that rely on direction reversal along that axis can show corresponding dimensional deviations.
Squareness and straightness errors
If X, Y, and Z axes are not perfectly orthogonal, rectangular features may become rhombic and hole patterns may not match the specified pitch in both directions. Straightness errors of the guideways also affect contour accuracy and lead to deviations in long features.
Spindle runout and thermal behavior
Spindle runout and growth due to thermal expansion contribute to dimensional errors, especially in precision boring and drilling. As the spindle warms up, its length and diameter change slightly. Without warm-up routines and compensation, the early parts in a batch may differ dimensionally from those produced after long-running cycles.
Material Properties and Thermal Effects
Material behavior under temperature changes and cutting loads has a major effect on dimensional accuracy, especially when tolerances are tight and parts are large or long.
Thermal expansion of workpiece
Every material has a coefficient of thermal expansion (CTE), typically expressed in μm/(m·°C). A dimension will vary with temperature according to:
ΔL = α × L × ΔT
where α is CTE, L is original length, and ΔT is temperature change.
For example, for a 300 mm aluminum part (α ≈ 23 μm/(m·°C)), a 5 °C change can theoretically cause a length change of:
ΔL ≈ 23 × 10⁻⁶ × 0.3 × 5 ≈ 0.0345 mm
This magnitude is significant when tolerances are on the order of ±0.01–0.02 mm.
Temperature differences between machining and inspection
Parts are often measured immediately after machining when they are still warmer than the inspection environment. When they cool, dimensions change. The inverse can also happen if inspection is carried out in a warmer room than the shop floor.
For steel parts (α ≈ 11.5 μm/(m·°C)), a 10 °C difference over a 200 mm length yields approximately 0.023 mm of change, which is enough to move dimensions out of tight tolerances.
Residual stresses and stress relief
Material stock often contains residual stresses from rolling, forging, or heat treatment. Machining removes material and redistributes these stresses, causing the part to warp or bend over time.
Examples:
- After roughing one side of a rectangular bar, it curves slightly. Finishing other faces does not fully correct the distortion.
- Thin housings distort several hours after machining, causing previously acceptable dimensions to drift out of tolerance.
Measurement and Inspection-Related Sources of Error
Not all “dimensions off” problems originate in CNC machining; some come from the way parts are measured and evaluated. Misinterpretation of measurement results can lead to incorrect conclusions and adjustments.
Inappropriate measuring instruments and resolution
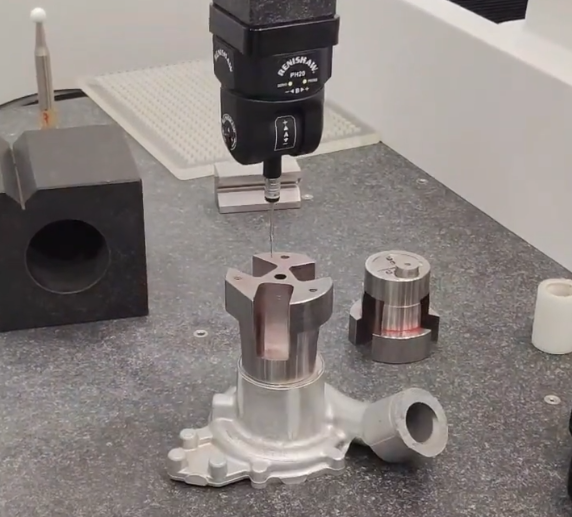
Choosing a measuring tool with insufficient resolution or accuracy leads to false conclusions. For tolerances of ±0.01 mm, a caliper with 0.02 mm resolution is inadequate. Micrometers or CMM measurements are more appropriate.
Measurement uncertainty must be significantly smaller than the tolerance band, otherwise it becomes difficult to distinguish between good and bad parts.
Measurement technique and alignment errors
Incorrect alignment of the gauge with the feature can cause systematic measurement errors, for example:
- Not aligning micrometer axis with the feature axis leads to cosine error
- Not seating gauge blocks properly introduces small gaps
- Measuring across burrs or surface irregularities inflates size readings
Environmental influences on measurement
Temperature, humidity, and vibration in the measurement area influence both measuring instruments and part dimensions. Precision measurements should be performed in controlled environments, typically at 20 °C, with sufficient stabilization time for the part and instrument.
Sampling frequency and statistical interpretation
Measuring too few parts or measuring only one characteristic can lead to misleading conclusions about process stability. Inadequate sampling may miss trends such as gradual drift due to tool wear or machine warm-up. A small number of measurements may also exaggerate the apparent variability of the process.
Geometric Dimensioning and Tolerancing (GD&T) Interpretation Issues
Even if the actual machining and measurement are technically correct, misinterpretation of drawings and GD&T can lead to the impression that “dimensions are off” when in fact the wrong evaluation method is being used.
Using the wrong datums for measurement
GD&T defines which datums to reference when measuring a feature. If the inspector uses a different reference frame than specified on the drawing, measured values will not correspond to the design intent. This is particularly important for positional tolerances and patterns of holes.
Confusing size tolerances with geometric tolerances
A hole may be within its size tolerance but fail a positional tolerance, or vice versa. If only the linear dimension is checked and geometric requirements are ignored, parts may appear correct but fail in assembly. Conversely, misreading a geometric tolerance as a tighter size tolerance can lead to unnecessary rejections.
Process Stability, Variation, and Capability Analysis
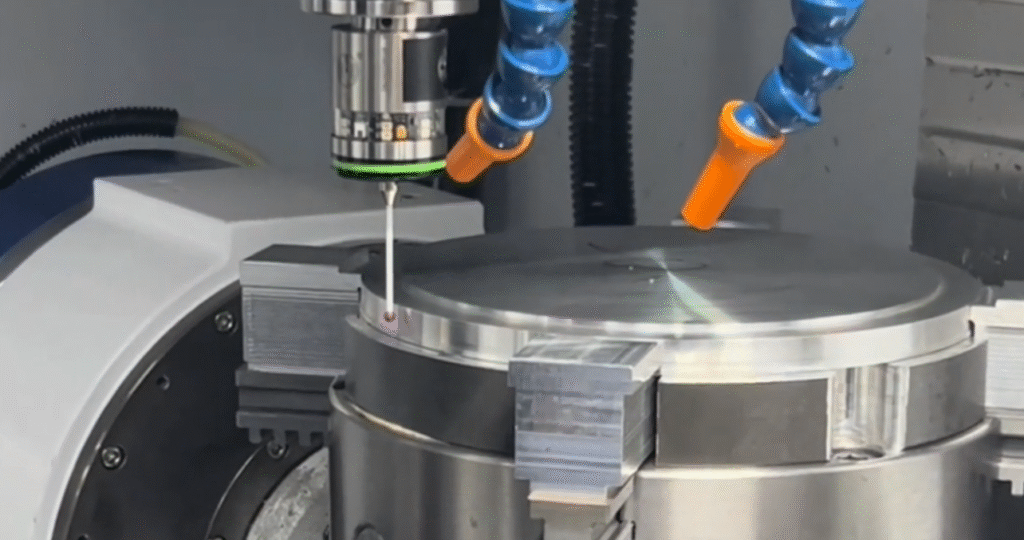
Many dimensional problems are not isolated events but manifestations of underlying process instability. A systematic approach to variation helps identify root causes and prioritize improvements.
Distinguishing common-cause vs. special-cause variation
Common-cause variation is inherent in the process (tool wear pattern, minor temperature fluctuations). Special-cause variation arises from identifiable events (broken tool, fixture slip, offset wrongly changed). Statistical process control (SPC) charts help distinguish these forms:
- Stable process: points fluctuate randomly within control limits, average dimension steady.
- Unstable process: sudden jumps, trends, or points outside control limits indicate special causes that must be investigated.
Capability relative to tolerance
If the natural spread of the process is large compared to the tolerance, no amount of fine adjustment will prevent off-dimension parts. In such cases, options include:
- Improving process capability: better tooling, more rigid fixtures, optimized cutting conditions.
- Revising design tolerances after negotiation with engineering, if functional requirements allow.
- Introducing secondary finishing operations (grinding, honing, lapping) for critical features.
Common Pain Points in Controlling Machining Dimensions
In daily production, several recurring issues make dimensional control especially difficult. The table below summarizes some typical pain points and their practical manifestations.
| Pain Point | Manifestation |
|---|---|
| Tool wear not tracked | Dimensions gradually drift from nominal until parts suddenly fail inspection; frequent offset corrections without clear rules. |
| Inconsistent fixturing | First-off part acceptable, subsequent parts show random deviation due to manually adjusted clamping each cycle. |
| Mismatch between machining and inspection conditions | Parts pass measurement on shop floor directly after machining but fail in metrology lab at stabilized temperature. |
| Insufficient communication of GD&T | Machinists focus on linear dimensions only, while positional and form tolerances are not controlled, leading to assembly issues. |
| Over-reliance on operator judgment | Offset changes made based on small sample measurements without statistical analysis, causing overcorrection and oscillation around the target. |
Practical Strategies to Reduce Dimensional Errors
To move from diagnosing issues to improving results, it is useful to consider practical measures that can be systematically implemented on the shop floor.
Structured tool management
Define tool life based on measured wear and dimensional drift rather than using arbitrary part counts. Implement controlled offset adjustment rules, such as adjusting by fixed small increments when the process average shifts and verifying with multiple part measurements.
Optimized fixturing and clamping procedures
Standardize clamping sequences, torque settings, and contact points. Use dedicated fixtures for recurring parts rather than ad hoc vise setups. For thin-walled parts, support critical surfaces and consider multi-step machining with intermediate stress relief.
Temperature control and timing of measurement
Whenever possible, allow parts to cool to a stable temperature before final inspection, or at least record part temperature and consider thermal expansion when interpreting results. For high-precision work, machine and inspect in temperature-controlled environments.
Consistent datum management and program verification
Clear documentation of datums, work offsets, and fixture references reduces the risk of coordinate system errors. First-article inspection should include verification that the NC program correctly implements drawing datums and GD&T requirements.
Use of SPC and feedback loops
Collect dimensional data over time and use control charts to observe trends. Integrate feedback loops between machining and inspection: instead of reacting to single measurements, make decisions based on the behavior of the process average and spread.
Representative Dimensional Error Scenarios
The combination of factors described above often leads to recognizable patterns in dimensional deviations. Understanding these patterns helps identify likely root causes quickly. The table below provides several typical scenarios and plausible cause groups.
| Observed Pattern | Likely Cause Group |
|---|---|
| All parts consistently oversize by ~0.03 mm | Incorrect tool radius offset, wrong wear compensation, systematic programming error. |
| Dimensions gradually drift from undersize to oversize over a batch | Tool wear, machine thermal growth, lack of offset adjustment rules. |
| Alternate parts in tolerance and out of tolerance with no clear trend | Inconsistent clamping, workpiece movement, unstable cutting conditions, measurement variation. |
| Holes within diameter tolerance but misaligned in the assembly | Positional tolerance or datum reference misinterpreted; fixture locating errors. |
| Parts OK in workshop inspection but fail in metrology lab | Temperature difference between measurement locations, different datum setups, higher-resolution instruments revealing actual variation. |
FAQ About CNC Machining Dimensions
Why are my CNC machined holes always slightly oversize?
Slightly oversize holes are most often caused by tool wear, tool runout, and deflection of drills or boring bars. As cutting edges wear, their effective diameter increases, especially in interrupted cuts or abrasive materials. Runout in the spindle-tool interface also enlarges effective cutting diameter. In addition, flexible drills and boring bars can bend under cutting forces, machining a larger path than intended. Check tool condition, holder runout, and clamping stability, and verify that programmed tool diameter and compensation match the actual cutting tool.
Why do dimensions change when measured in the inspection room?
The most common reason for dimensional change between shop floor and inspection room is temperature difference. Parts coming directly from machining are typically warmer due to cutting heat and machine environment. When they cool to the inspection room temperature, they contract or expand depending on the material and direction of change. For tight tolerances, even a few degrees of temperature difference can cause several hundredths of a millimeter of dimensional change on larger features. Allow parts to stabilize near 20 °C before final measurement and consider thermal expansion when evaluating results.
How can I tell if dimensional errors come from machining or measurement?
Compare results from different measurement methods and instruments, verify gauge calibration, and check for consistency across multiple parts. If different instruments (e.g., micrometer and CMM) in a controlled environment give similar results, the error likely comes from machining. If results vary significantly between instruments or operators, review measurement technique, alignment, and environmental conditions. Also, analyze patterns over time: machining issues often show systematic trends (drift, step changes) that correlate with tool changes, offset adjustments, or machine warm-up.
What is the most effective way to stabilize machining dimensions?
The most effective approach combines structured tool life management, standardized fixturing, controlled machining and inspection temperatures, and statistical monitoring. Define tool life and offset adjustment rules based on data rather than trial and error. Use repeatable fixturing with clear datums and documented clamping procedures. Implement warm-up routines for machines and avoid measuring hot parts for final acceptance. Finally, use SPC charts to detect drift and variation, enabling adjustments before parts go out of tolerance.

